CLICK HERE TO PURCHASE IN THE E STORE!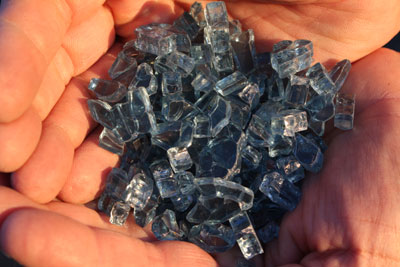

CLICK HERE TO PURCHASE IN THE E STORE!
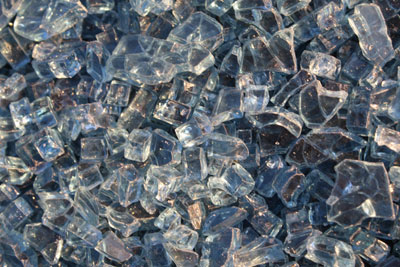
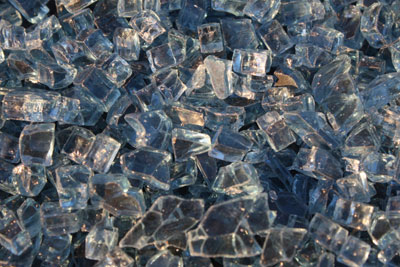
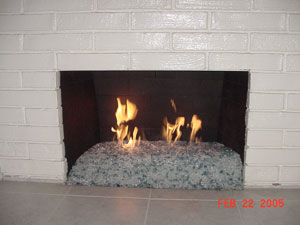
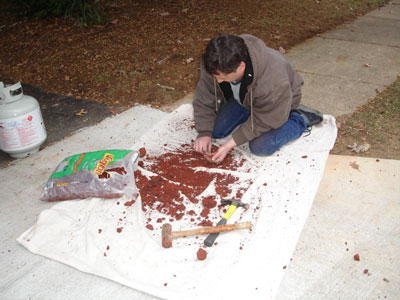
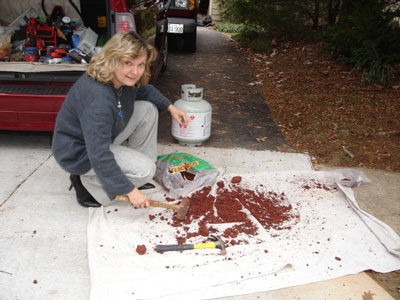
Here are some pictures of 1/4" Ford Blue Base Glass with Ford Blue Reflective Base Glass on top.
This is also a self installation so follow the pictures down to see how it turned out.
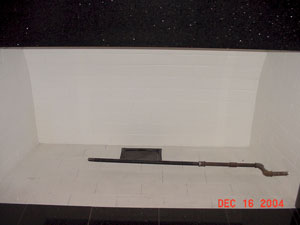
above
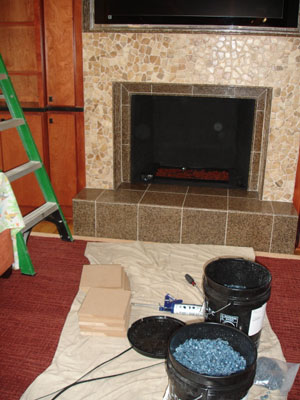
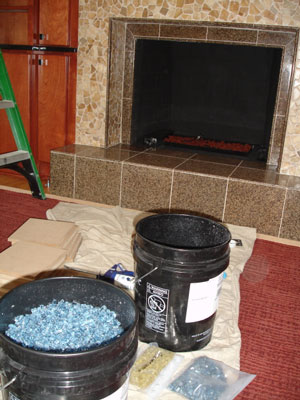
this is how it looked when we arrived
below
installed burner and test the draft of the flame
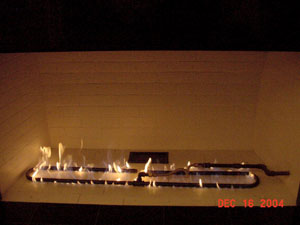
below
pour lava rock and pull burner to the top
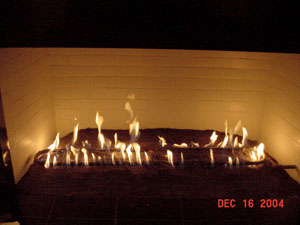
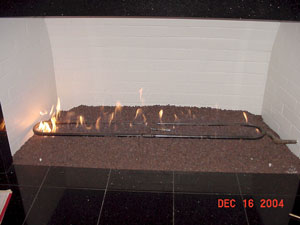
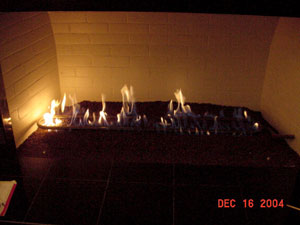
Ford Blue Base Glass with Ford Blue Reflective Base Glass
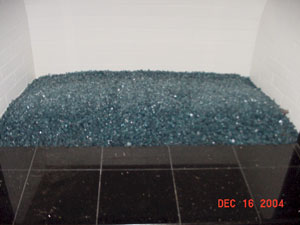
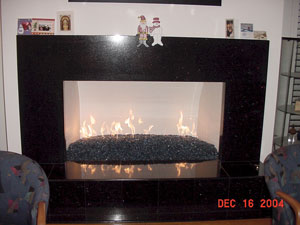
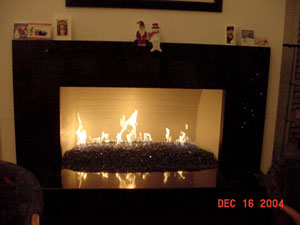
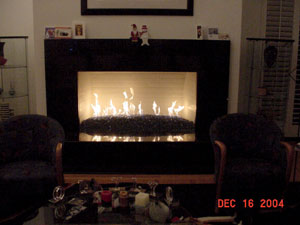
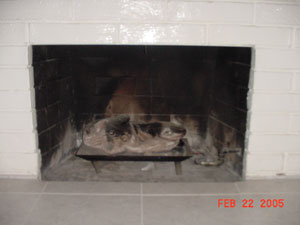
Again this is how most fireplaces look after you remove the doors and or screens
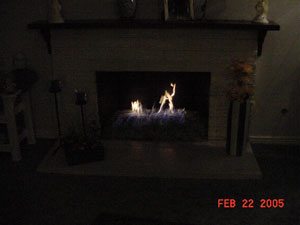
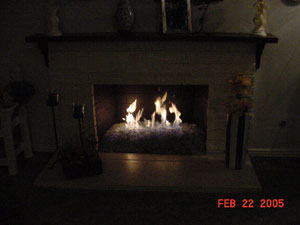
and below is a Clear Base Glass with Ford Blue Base Glass over the top
CLICK HERE TO PURCHASE IN THE E STORE!
The five pictures below are a Starfire Base Glass with Ford Blue Base Glass, Ford Blue Reflective Base Glass, and V Blue Reflective Base Glass
and as you can see most fireplaces start very drab.
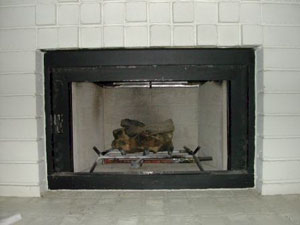
logs are now gone
below sand and lava rock are poured over the burner
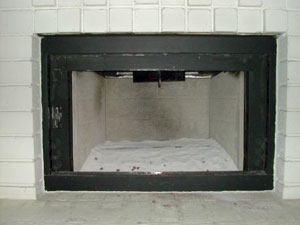
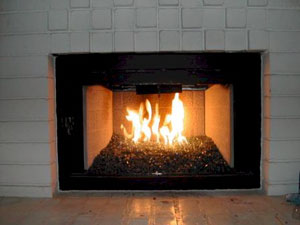
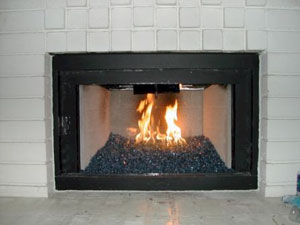
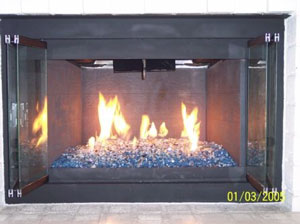
The five pictures above are a Starfire Base Glass with Ford Blue Base Glass, Ford Blue Reflective Base Glass, and V Blue Reflective Base Glass
The pictures below are of Ford Blue Base Glass and Ford Blue Reflective Base Glass from beginning to end.
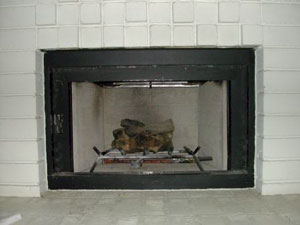
Sand over lava has been installed over the burners.
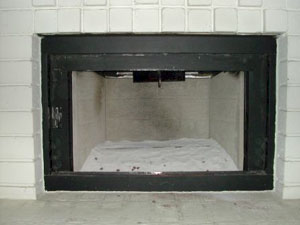
Where is the lava rock and sand? Don't let anyone tell you different as this proves to be very cost effective if you choose to do it this way.
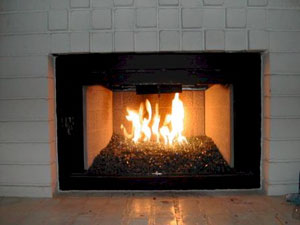
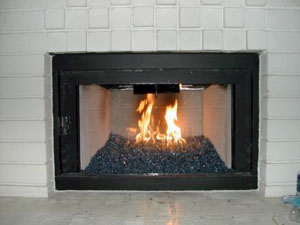
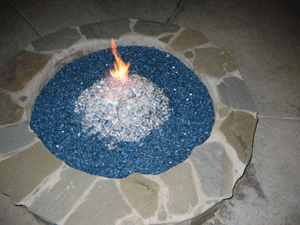
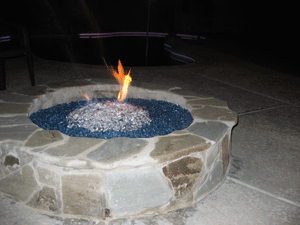
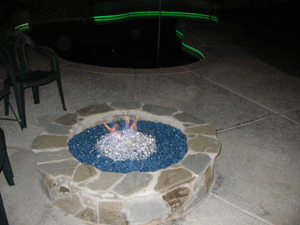
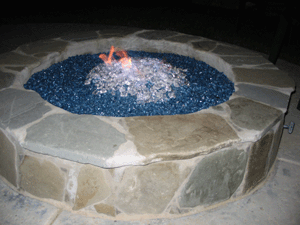
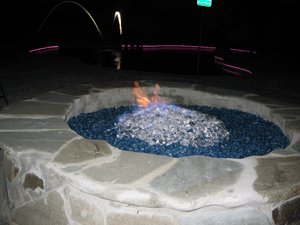
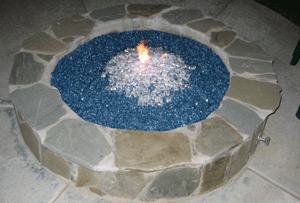
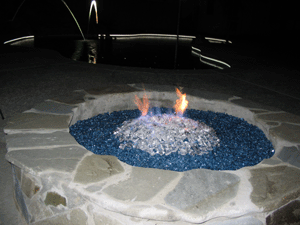
The fire pit below has Ford Blue Base Glass Topped with Ice Ice Ice Topper.
CLICK HERE TO PURCHASE IN THE E STORE!
Fire Pit below with Ford Blue Base Glass and Azurlite Base Glass
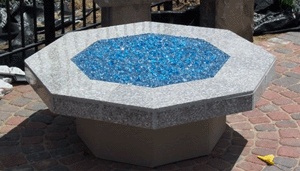
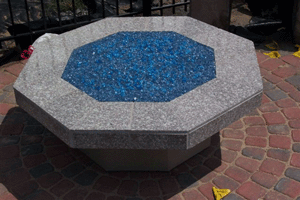
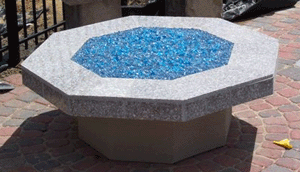
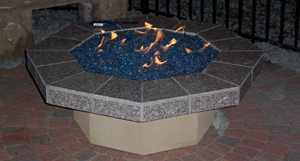
Fire Tables in Temecula, California.
Gray Base Glass and Ford Blue Base Glass
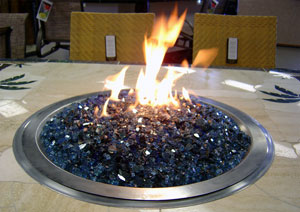
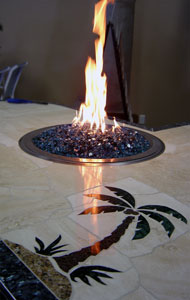
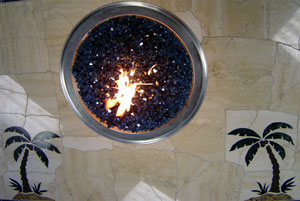
CLICK HERE TO PURCHASE IN THE E STORE!
The fire pit below has Ford Blue Base Glass, Ford Blue Reflective Base Glass, V Blue Base Glass, V Blue Reflective Base Glass, Turquoise Toppings, Deep Royal Toppings and Copper Blue Topper on a bed of 1/4" Starfire Base Glass and 1/2" Starfire Base Glass
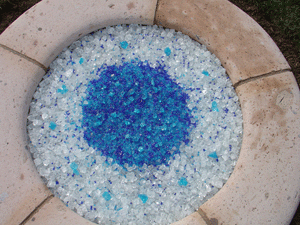
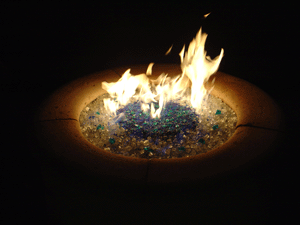
The fireplace below has Ford Blue Base Glass and Ford Blue Reflective Base Glass installed
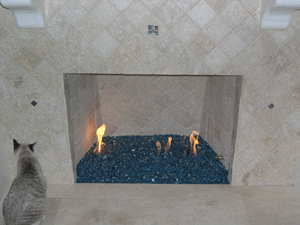
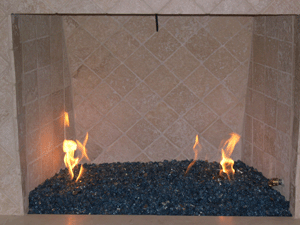
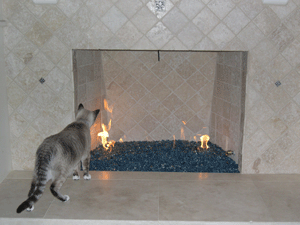
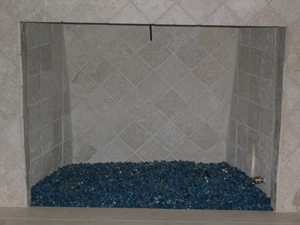
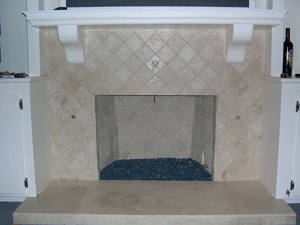
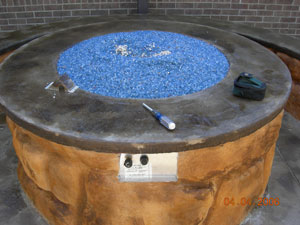
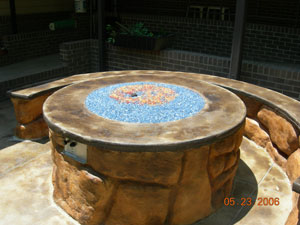
The fire pit/ fire table has Ford Blue Base Glass and Ford Blue Reflective Base Glass in the center.
This is a 4 piece glass surrounding a fire pit.
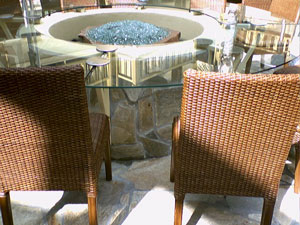
The fire pit below has a Clear Base Glass with Azurlite Base Glass and Ford Blue Base Glass on top. Then it was topped with Dark Red Orange Topper, Yellow Amber Topper and Amber Topping.
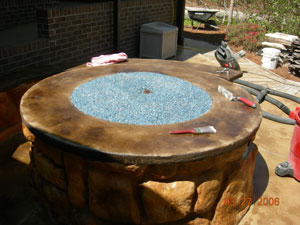
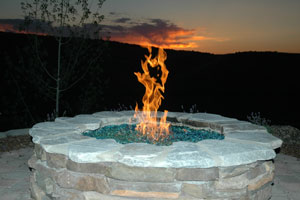
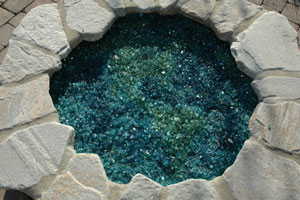
The fire pit below is in Boise! It has
Evergreen Base Glass and Evergreen Reflective Base Glass
Azurlite Base Glass and Azurlite Reflective Base Glass
Ford Blue Base Glass and Ford Blue Reflective Base Glass. Looks great.
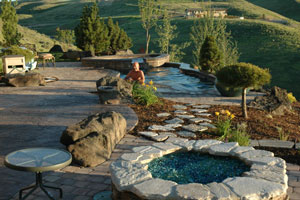
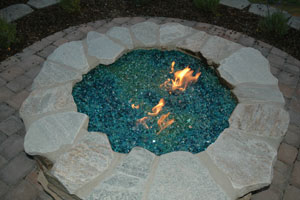
Makes me want to go to Boise!
The fire pit below will be aired in early of 2008. The fire pit was filmed by Yard Crashers (www.BigTableMedia.com) in Sacramento, California. A subsidiary of HGTV and Pie Town Productions. We will post air times as soon as we have them. But for now here are a few shots from the filming. Yard Crashers is a new program from HGTV who do complete makeovers in your back yard. Please contact www.BigTableMedia.com for details on how you can get involved!
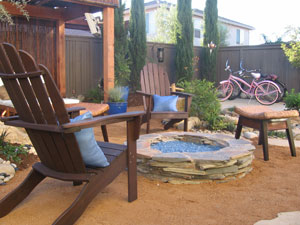
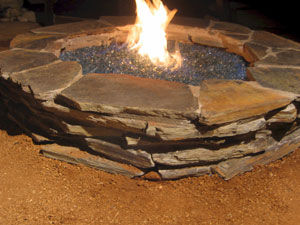
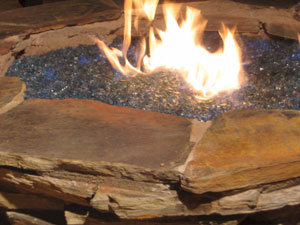
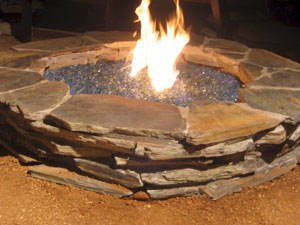
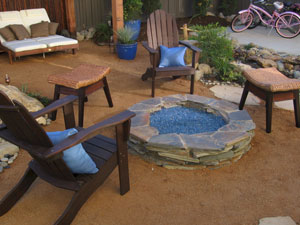
In the pictures on the top right, do you see the plumbing sticking out of the pit? Well this was fixed, but not by the plumber that tried to install it. We cut a little bit of concrete and placed the valve in properly.
Above you will see a very poor attempt of a gas burner and valve.
The picture above has our twin remotes inside the box protected from the weather.
We covered the larger lava rock with our crushed lava rock to pour a 1 1/2"
Ford Blue Base Glass to cover the lava and burners. Unless you plan to cover your outdoor fire pit we recommend to use all stainless steel burners and parts to avoid rusting.
Once the glass covers the box, it just looks nice. To replace the batteries, move the glass on the top and the rest is simple.
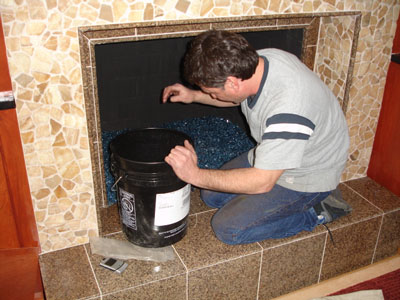
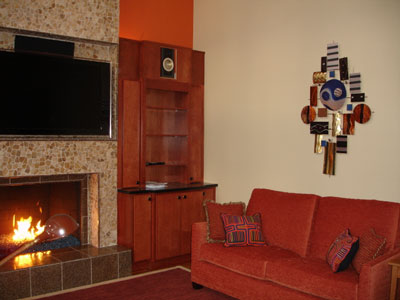
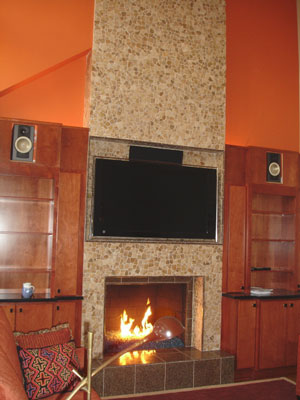
The fireplace below was done with Ford Blue Base Glass and for Ford Blue Reflective Base Glass
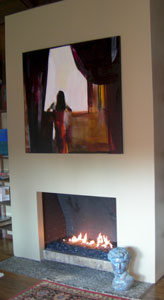
The fire pit below has a
"FPPK" propane burner installed and the burners were exchanged out for stainless steel. If you were to leave the steel burners in you will eventually have rust pouring out of your fire pit onto the patio which will not look very attractive! The glass used was
1/2" Gray Base Glass and
Ford Blue Base Glass. The controls were inside the bottom housing, nice fire pit but almost a big oops.
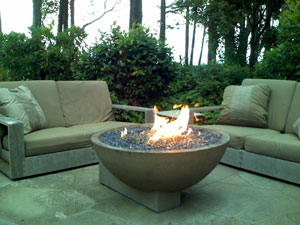
nice design.
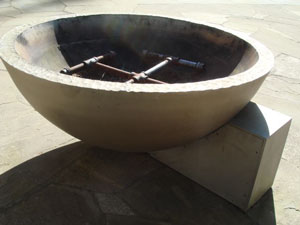
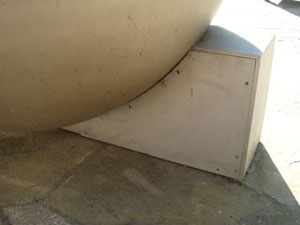
below you can see where the controls were to be mounted
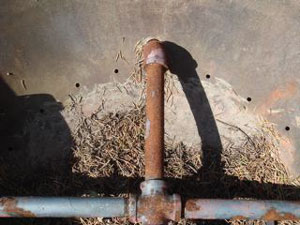
above you can see the steel ready to rust and make a mess. Remember you get what you pay for.
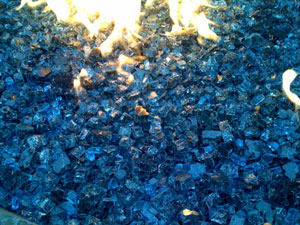
We will be posting different ideas on fire pit covers we can build or design for your fire pit.
The fireplace below is a direct vent fireplace located in Palm Springs California at Palm Springs Modern Homes.
www.PSMHomes.com . We have done over 60 of these installs in the condo complex and they all are outstanding! For those of you who say it can't be done, well here is is. Just because you don't know how doesn't mean it can't be done.
The fire pit below has a Ford Blue Base Glass with several pounds of Deep Royal Topping giving this pit a very royal look!
The Fire Pits/ Tables below are in Las Vegas Nevada. We built the stainless steel pans and corrals to protect the lighting on the outer edges of the pan. The glass that was used was:
V Blue Base Glass and V Blue Reflective Base Glass,
Ford Blue Base Glass and Ford Blue Reflective Base Glass. The installation was done by Silver State Fireplaces of Las Vegas.
This is at the Cadillac Ranch on the strip.
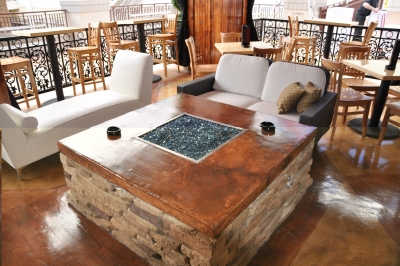
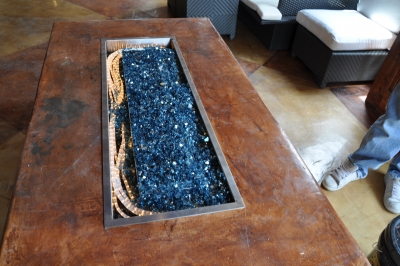
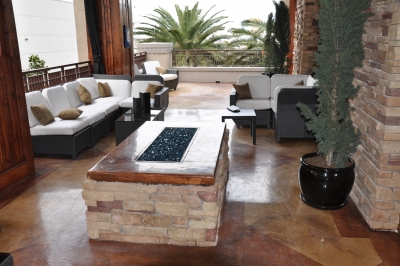
When these were installed we didn't have any gas to light the fire. So if we get back we will take pictures.
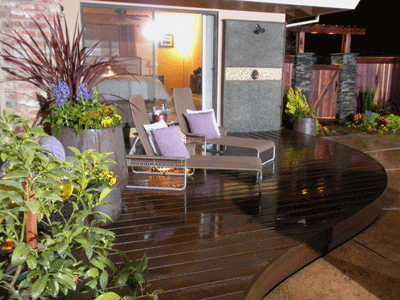
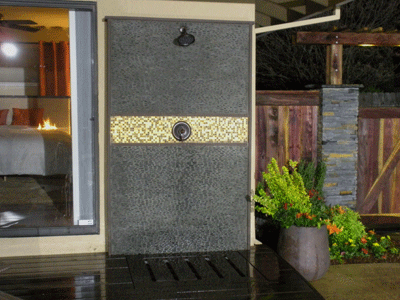
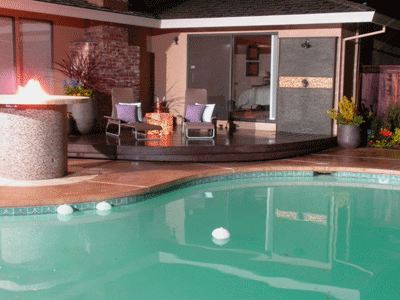
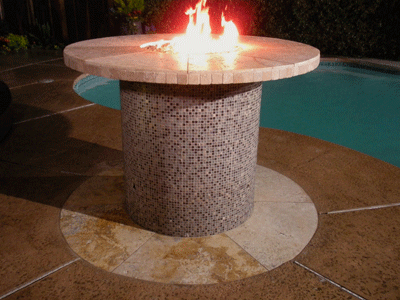
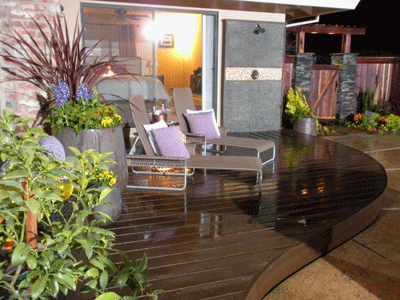
The Fire Table below was installed in Sacramento California by and for Yard Crashers. The finished pictures will be posted on the Yard Crashers page when this project is installed after 01 20 10. This episode was to be labeled "Outdoor Shower" on HGTV and the DIY Network but somehow it was labeled "Modern Fire Wall" go figure? It is episode 302 on HGTV or DIY Network. The details will be shown on the DIY page when and as soon as we receive them from the producers. We built a square aluminum pan with an 18" double stainless steel ring and used one of our FPPK kits for the propane fuel. This will be shown on the episode coverage as well. Here are the pictures of the back yard and the finished fire table using propane.
CLICK HERE TO PURCHASE IN THE E STORE!
The fire pit below was purchased locally and then we converted it to burn propane without soot! The colors used were:
Starfire Base Glass,
The fire pit pictures below were taken by and for the Sweat Equity weekly HGTV Do It Yourself TV Show. The FireGlass that was installed was:
Starfire Base Glass,
Blue Diamonds,
Ford Blue Base Glass,
with an 18" stainless steel fire pit ring burner with out the center to accommodate the water feature. All of the fire glass was placed around the pile of fire rocks in the center. The top of the table is removable if you ever needed to service the water pump or any other reason. Always build and design it with replacement or repair in mind.
Now for the fire pit pictures:
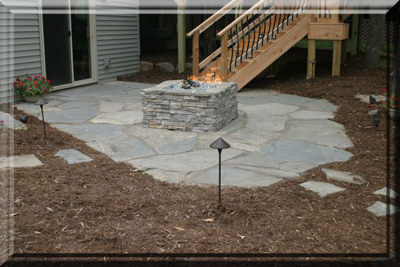
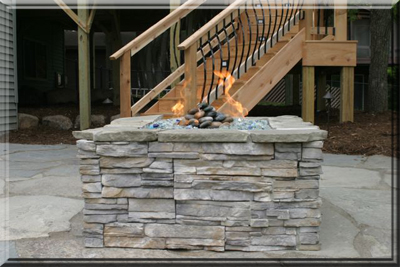
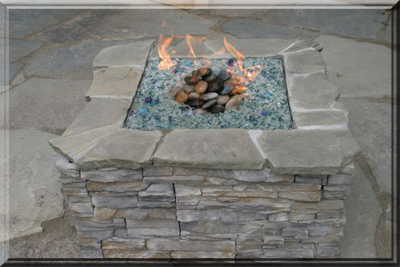
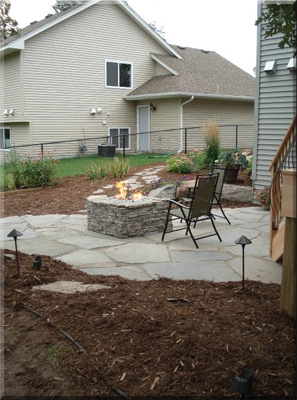
Aquatic Glassel was used in this and every application.
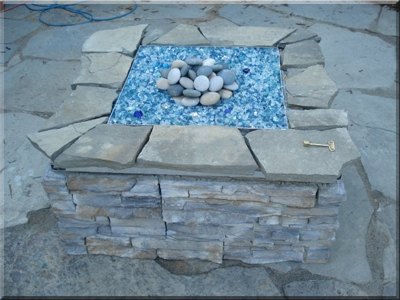
There was an aluminum sub frame built with durock attached. Then the stone was applied to the surface. All of the components are under the removable top.
This episode will air on or around May of 2010 on HGTV and the DIY Network.
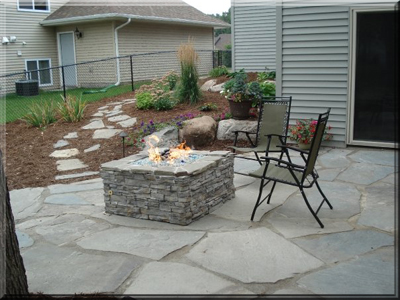
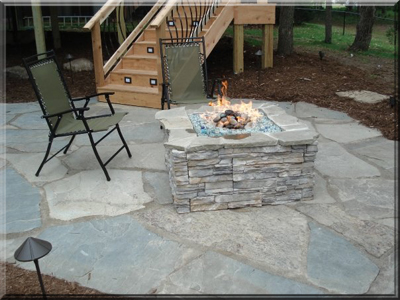
The next fire pit was build/ constructed by Rose Harms in Wyoming. Long story behind this one with what the plumbers were telling her and what actually happened. We will explain as we go.
Above and below you can see we had her install a gas line with a quick disconnect hose.
Here is what Rose had to say:
Hi Ed and Claudia, Wanted to be sure I got the photos to you of our completed fire pit.
Here are the steps we went through:
Bought the brick/blocks (no lip on the stones) from Lowe's, put in circle, 3 rows high.
Bought the iron fire pit at Lowe's and placed on and inside fire pit. -note -it is iron, so I sprayed it with HIGH HEAT paint, in Copper. Wow!
got plumber to run natural gas from deck above (outlet for BBQ) and under the deck, ran down the deck post and he put in a Shut Off valve there.
It turns.
He ran a precise hole through the bottom off the fire pit to hold pipe for gas to the double ring burner (from
Moderustic of course) and it is stainless
steel (no rust). At the bottom of the deck post is a flexible hose which goes over to the fire pit. It CAN be disconnected or even roll up and
shove inside
fire pit (after it is cooled).
Note: you do need to chop off a piece of the block, or else just pull one out when you are using the
fire pit. (Kind of like
Jenga -just pull out the stone, the others support the fire pit) Unless you can successfully saw off a piece of the stone.
Lit the burner to be sure it works well. It did.
We put in the 1" lava rock in the bottom of copper fire pit and then filled in the spaces with
1/4" lava rock. Should have used More! When we went to
cover the burner we were short on the
fireglass. So we ordered more. Still looks beautiful.
Got rest of glass and made circles with the glass and it is beautiful. There are photos of it burning last night!! Lots of warmth on a typical
cool Wyoming evening.
Brick: $200, Fire Pit $79 on sale, double ring SS burner $126, glass -about $250, gas line -don't know yet but guessing $200. Maybe $750-800 total.
And -the way it is made, we could actually dismantle and move it. No mortar in stones. We are very happy with our fire pit and thanks to Ed and the gals
at
Moderustic, we were able to make the right choice for glass and burner. Thanks Ed, Rebecca and Claudia. Very knowledgeable and helpful. Could not have managed this without your guidance. We love being DYI-ers but directions are needed!! We appreciate all your help.
Rose and Doug Harms, Cheyenne Wyoming
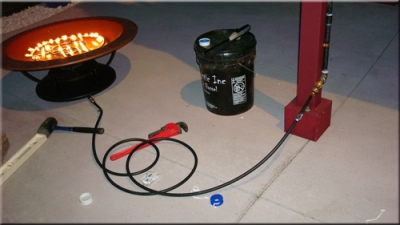
Mind that the customers stacked their own bricks!
The glass that was used:
and the rest is history!
This was originally going to be propane but if you have natural gas, then use it if you can. It will cost less in the long run.
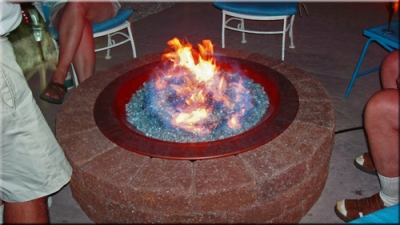
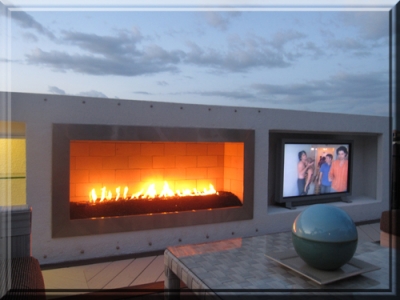
The fireplace below is on the water in Florida. We built a Ribbon Burner for this Propane Burner and equipped it with an Electronic Ignition. All parts that were used were #316 marine grade stainless steel.
The media that was used was a very fine crushed lava.
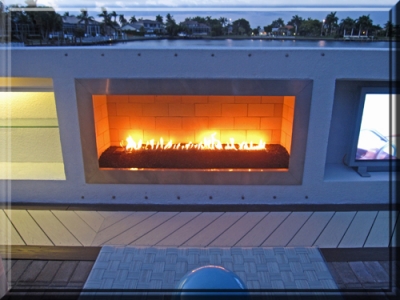
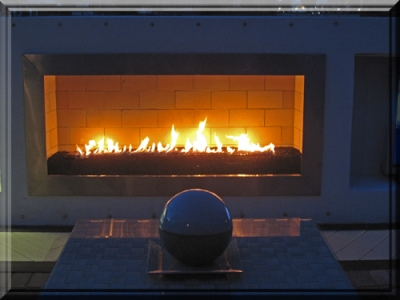
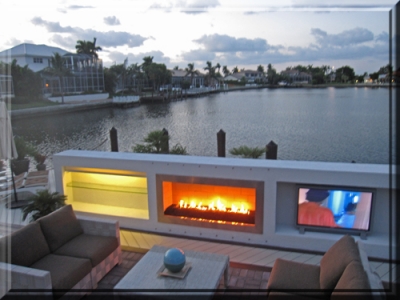
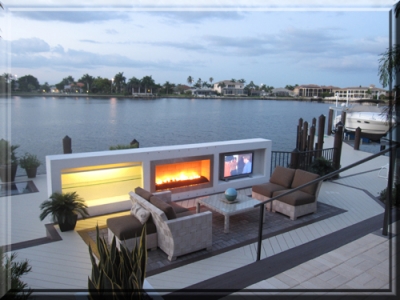
Mark Cotter was the contractor in Florida who is responsible for this wonderful addition!
CLICK HERE TO PURCHASE IN THE E STORE!
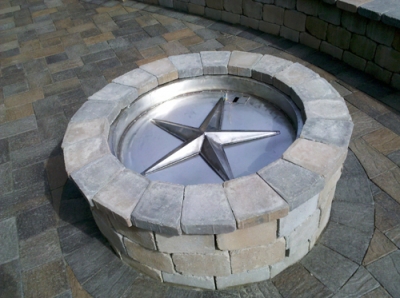
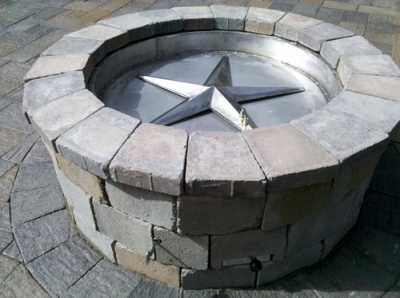
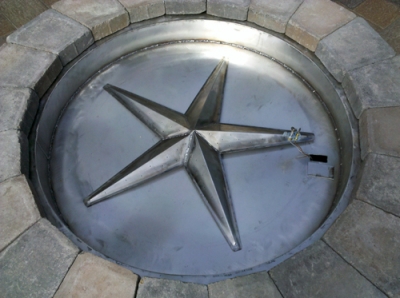
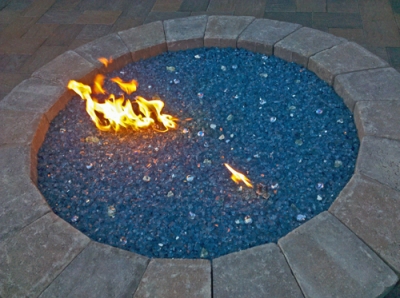
The next fire pit below has one of our FPPK's installed. We didn't supply the star burner bur we did get it to burn correctly with a Ford Blue Base Glass. Then it was Topped with Clear Base Glass and Blue Diamonds. We will explain as we move on.
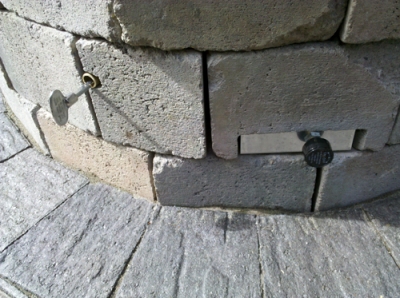
Below you can see the gas shut off on the left and our FPPK box on the lower right.
Below you now have fire! It was a bit windy but you get the idea.
The next fire pit below was built and installed by Kevin Smith.
This is a propane fire pit and we sent the stainless steel burners and Copreci Valve. The burners are and were calibrated to the burner to insure a clean burn. There are so many companies out there who sell propane pans, burners, air mixers along with the glass and when you have any issues, they just seem to run away and leave you holding the bag. We will explain as we move forward.
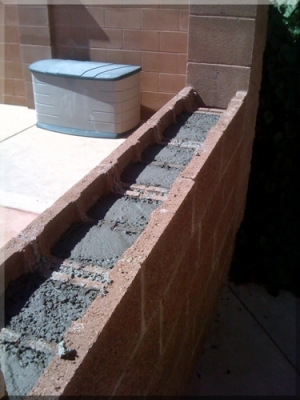
Above you see the cinder block hollowed out. You don't need a pan, the block is the pan! Too many times we see this situation and the customer is told they need a pan, why? Ohhhh, because the dealer needs your money more than you do!
Below you see the stainless steel burners on a bed of crushed pea gravel
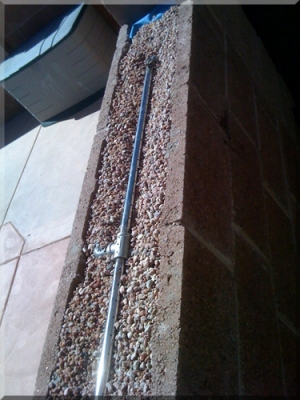
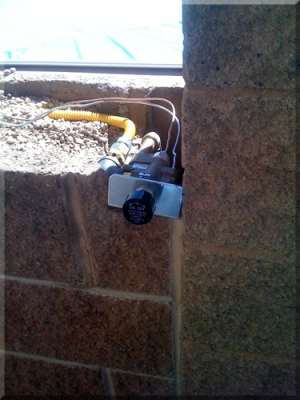
Below you can see the Copreci and air mixer mounted to a bracket on the end of the pit. Remember, the air mixer and Copreci have to be calibrated to the burner or it won't work! There is no magic bullet, it's pure and simple knowledge. Propane Burners have to be dealt with great care.
The glass that was installed was Ford Blue Base Glass.
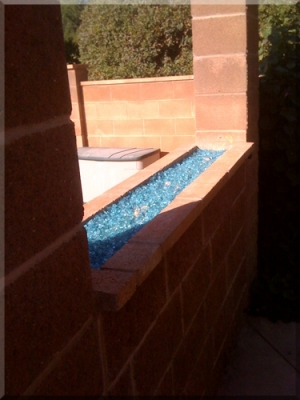
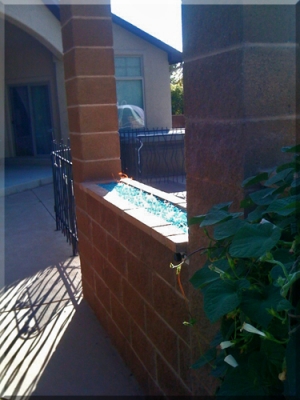
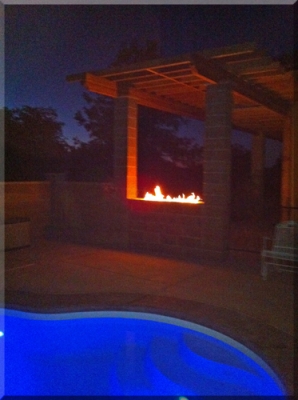
Done, simple and nice!
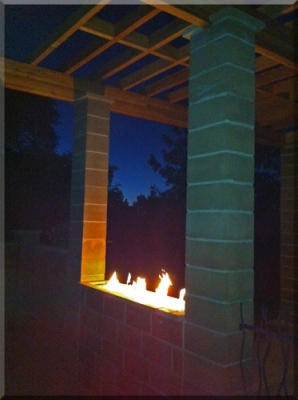
See this fire pit being built and we used Blue and Blue Reflective base glass. (15 pictures!)
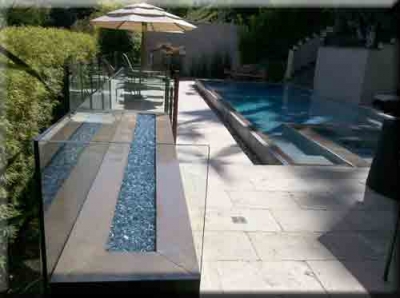
This next fire pit was designed and built by Phil. He installed :
The next fireplace belongs to Scott Dexter. He installed: