The installation is our 2" method which saves you 1/3 the cost!
EXAMPLE #1 A Natural Gas Fireplace Conversion to a Fire and Glass Fireplace.
Step 1 - After the fireplace has been cleaned and is now ready for paint.
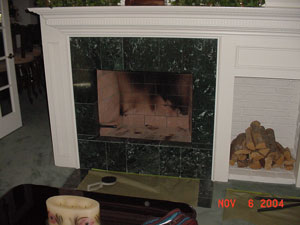
Step 2 - We have now installed the burner which is as easy as hooking up a garden hose.
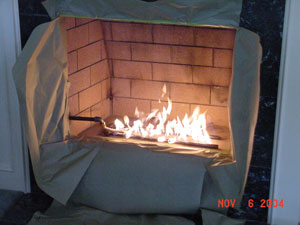
Step 3 - This is a little hard to see but we have 2" of crushed lava rock under the burner which is actually your new base.
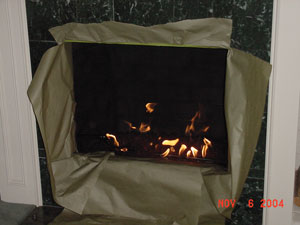
Step 4 - We now have pulled the burner to the top surface and covered the lava rock with sand to expose the burner. We then adjusted the flame pattern by turning the burners to obtain our flame direction.
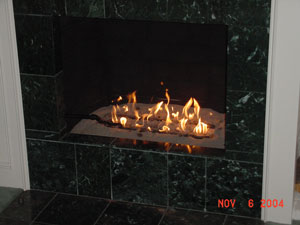
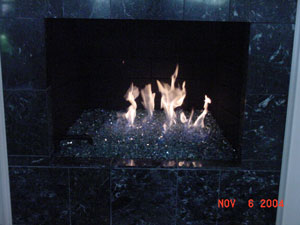
Step 5 - Here is the finished product with Blue Green Reflective Base Glass and who would know that there is a 2" base of filler underneath?
EXAMPLE #2 A Natural Gas Fireplace Conversion to Fire and Glass Fire place.
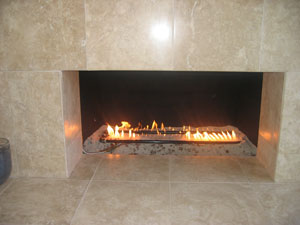
Here is another customer self install using Bronze Reflective BAse Glass with Gold Base Glass fire glass on top.
Step 1 - Install the burner.
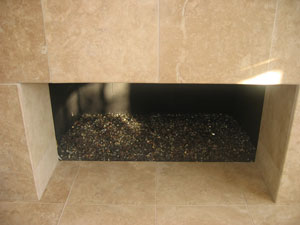
Step 2 - Add the Bronze Reflective BAse Glass FireGlass with a Gold Base glass on top
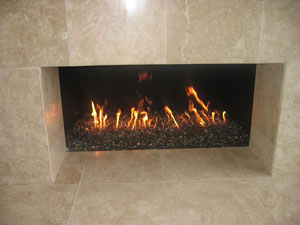
Step 3 - Light and Enjoy!
EXAMPLE #3 Natural Gas Conversion to Fire & Glass Fireplace.
Step 1 - Clean out your old fireplace.
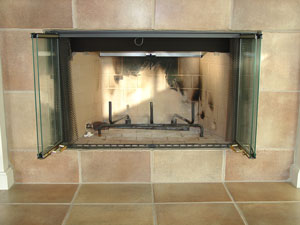
Step 2 - Paint and add lava rock
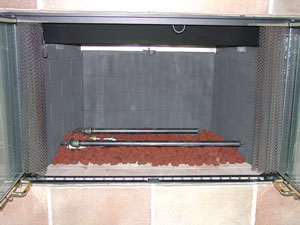
Step 3 - Add the Clear Base Glass with Evergreen Reflective Base Glass on top.
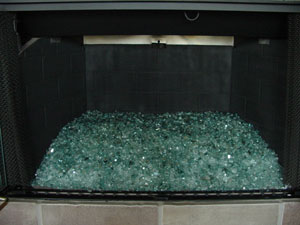
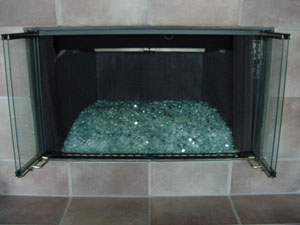
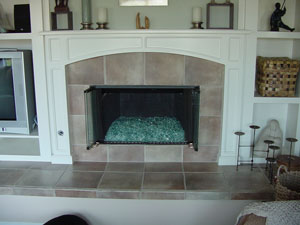
Step 4 - And you're Done! Light the fire on glass.
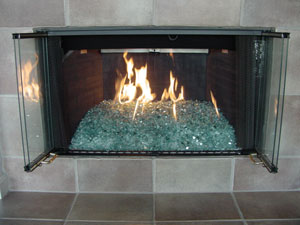
EXAMPLE #4 A Natural Gas Fireplace Conversion to Fire and Glass Fireplace.
Step 1 - Using a metal brush clean your old fireplace.
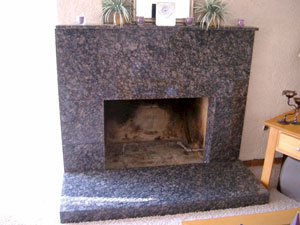
Step 2 - Apply the high-heat stove Paint
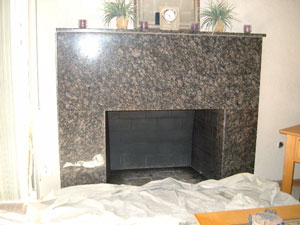
Step 3 - Pour the fire glass in this particular fireplace design uses Clear Base Glass with Blue Green Base Glass fire on top.
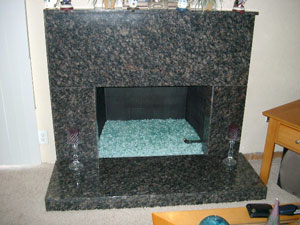
2” Installation Guide First we would like to thank you for choosing Aquatic Glassel fireplace glass and now for the good stuff. Clean your fireplace and wire brush if needed to remove any soot build up. Wipe the surfaces clean with a dry cloth to remove any dust. If you are painting mask off the areas you don’t want any paint on. Spray your paint and remove the masking
Now you want to hook up your burner and place it in the center of the fireplace. Turn the gas on and light it to check that you have the flame pattern in the center and going up and not lapping on the back wall. This will cause soot and look like do-do. Now you have found the general location for the burner. Pour in about 2” (you can use as much as you want) of crushed lava rock and maintain about 3” to 4” from the front of the fireplace. Keep the front clear of lava rock and sand, as we don’t want it to show through.
Pull the burner to the top and light it again to insure the pattern has not changed. Now cover the burner and lava rock with sand, brush the burner of any sand and light it again. Checking for the flame pattern again. Looks good? Now you're ready to pour the glass on the lava rock and sand base. Starting from the front to back to keep the lava rock from mixing in the glass. Now you’re done unless you are topping off with another color. We recommend you do this slowly as it looks better if you take your time. We also have found that if you do this at nighttime it makes more sense as you can see the actual effects of the fire and the toppings.
In the event you want to remove the topping at a later time, use a shop vacuum to remove the top layer. We put tape on the end to make the hole smaller as not to suck up the complete fireplace of glass. Save this glass you just removed for use later in time. Now you can re-decorate with a few pounds of another color to change the entire look of your fireplace.
We at Eco Fire Features.com are the Premier Authorized Dealers of Aquatic Glassel Fire Glass, tm. We deal directly from the Patented inventors of Fireplace Glass. We are also very proud to offer the consumer almost 500 different exciting products. We continue to strive for the greater success of our customer. We offer the crushed lava rock and or Pea Gravel as a filler method, It is a different method than most companies are using, yet you can achieve the same results for the fraction of the cost. we truly understand the needs of our customers, as our motto is to Spend less and get more.
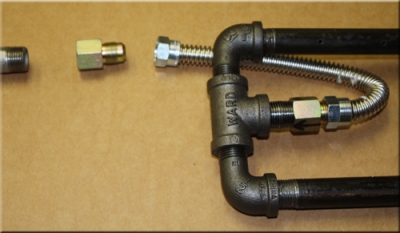
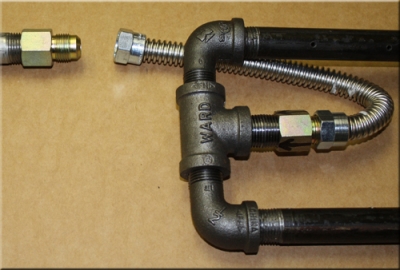
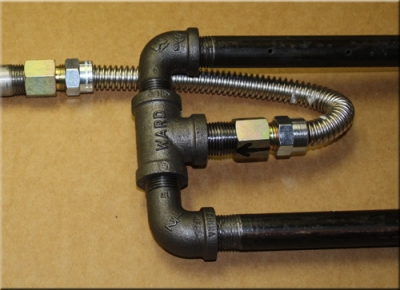
Here is another tip on How to correctly install a Natural Gas Burner. A picture is worth a thousand words, here are three thousand words!
"Click Here to Shop On line!"
EXAMPLE #5 A Natural Gas Fireplace Conversion to Fire and Glass Fire place.
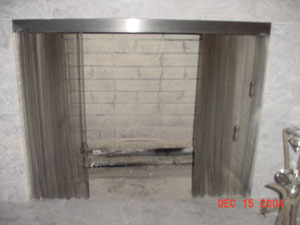
The fireplace below comes to us from Ursula from Pasadena, California. She did a great job with her fireplace design. And as of recent, she also had us install Sterling Silver walls.
Step 1 - Here is a picture of the fireplace as we arrived.
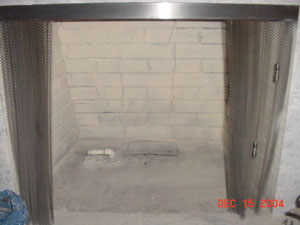
Step 2 - Clean the fireplace with a steel brush.
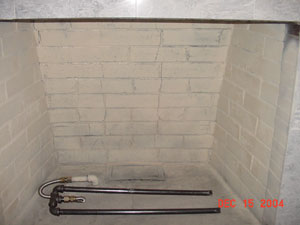
Step 3 - Here are the burner pipes being installed.
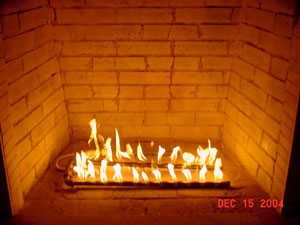
Step 4 - Add some Lava Rocks.
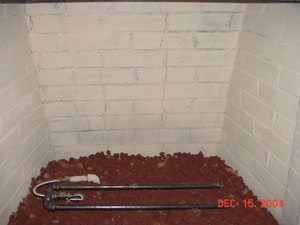
Step 5 - Then some sand...
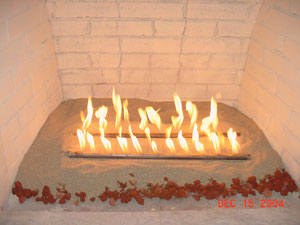
Step 6 - And finally the Fire Glass and you're done! You have a Modern Fireplace Design.
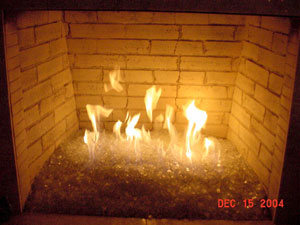
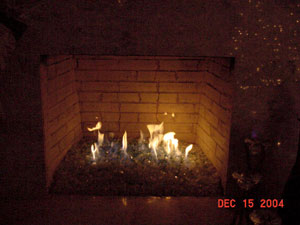
EXAMPLE #6 A Natural Gas Fireplace Conversion to Fire and Glass Fire place.
This is an example of fireplace that's already been cleaned and painted. So here's how it looked when we arrived.
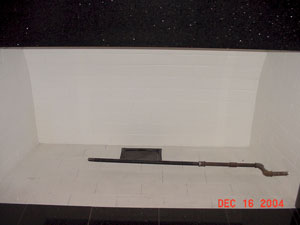
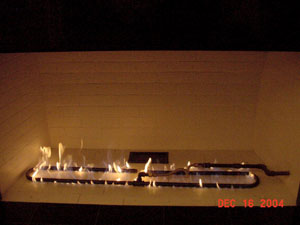
Step 1 - Install burner and test the draft of the flame
Step 2 - We now pour the lava rock and pull burner to the top.
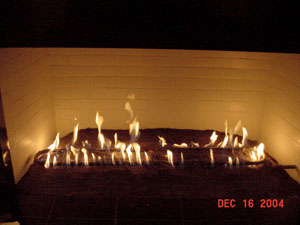
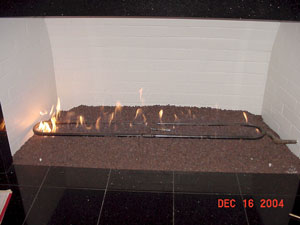
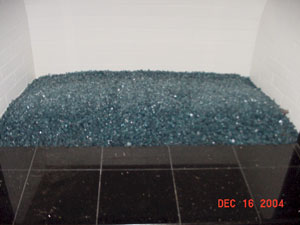
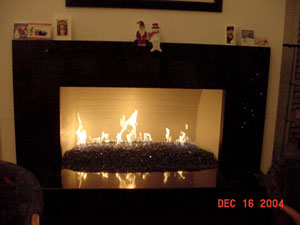
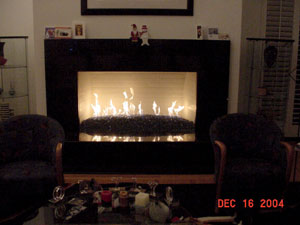
Step 3 - We then add our fire and glass. In this picture we are using 1/4" Ford Blue Base Glass with Ford Blue Reflective Base Glass on top.
EXAMPLE #7 A Propane Gas Fireplace Conversion to GlassFire Fireplace.
The pictures below are of John Hanson in Northern California. We designed a custom burner pan for his propane gas fireplace - which by the way he installed it himself.
Here are some fireplace pictures of how it all started...
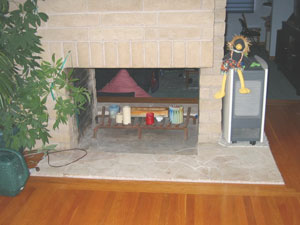
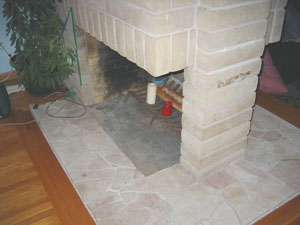
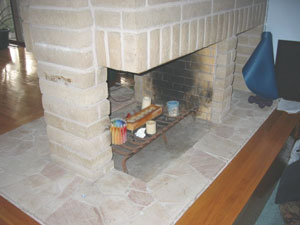
Step 1 - We remove the existing materials.
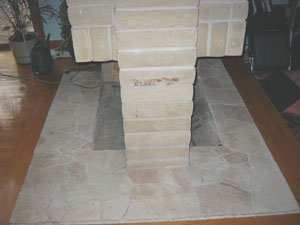
Step 2 - The propane burner pan goes in.
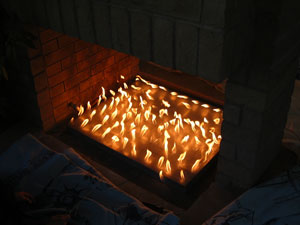
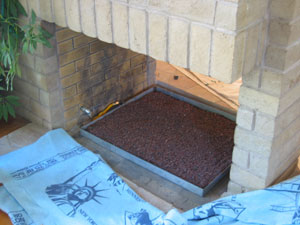
Step 3 - Add some lava rock.
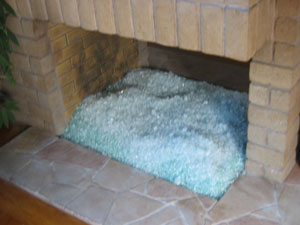
Step 4 - Now the FireGlass, a Clear Base Glass with 3/4" Clear Base Glass on top
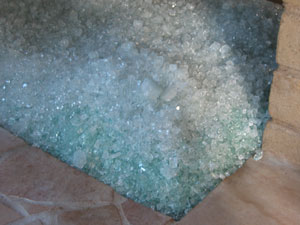
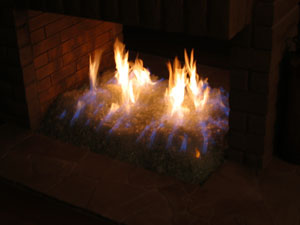
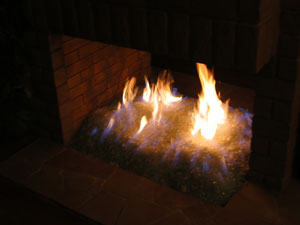
Step 5 - And now for the magic! The Fireplace hearth is complete with the contemporary FireGlass lit.
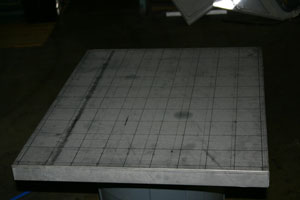
By the way, here are some pictures of the custom burner pan we used for this fireplace design.
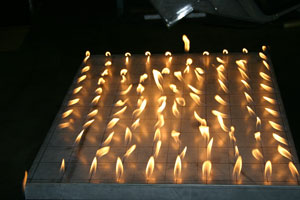
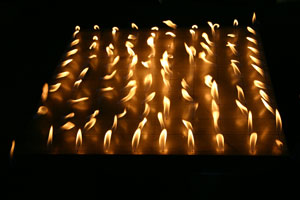
There you have it, simple as that. Great job John Hanson!
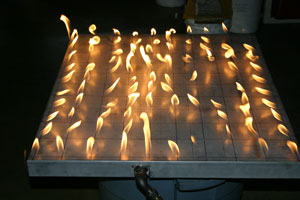
EXAMPLE #8 A Natural Gas Fireplace Conversion to Fire Glass Fireplace.
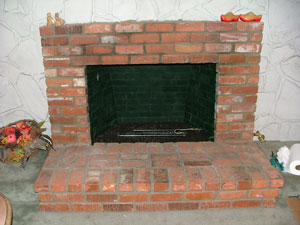
Here is an example of a converted old brick fireplace made into a modern crushed glass fireplace.
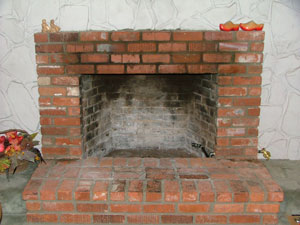
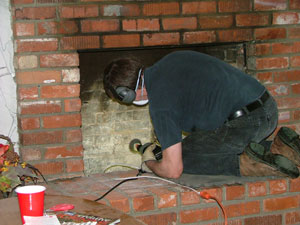
Step 1 - Here is the customers local handyman cleaning and preparing the fireplace.
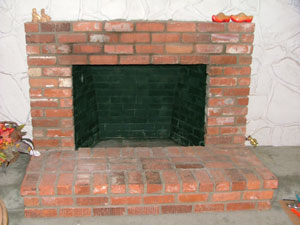
Step 2 - The stove paint has been applied.
Step 3 - The burner pipes and lava rock installed.
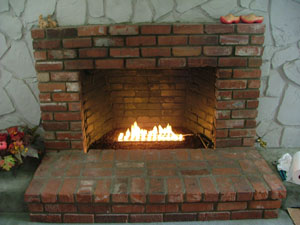
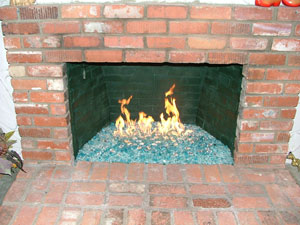
Step 4 - Then we add the glass fire. In this fireplace we are using Azurlite Base Glass, Clear Base Glass, Blue Green BAse Glass, Blue Green Reflective BAse Glass, Ice Ice Ice Clear Topper, Ice Ice Ice Blue Topper fire glass.
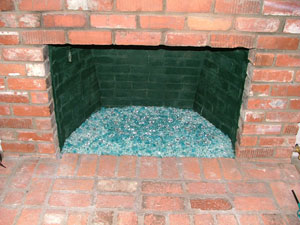
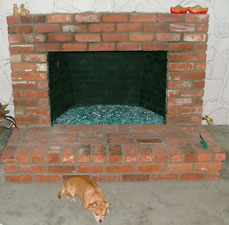
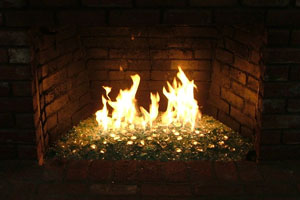
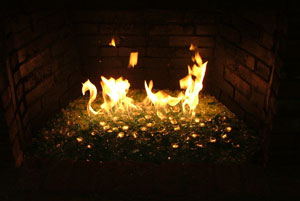
And here are 2 pictures showing the fireplace at its best, in the evening!
EXAMPLE #9 An Outdoor Fire Pit Converted to a Fire Glass Fire pit.
The pictures below are of a self install with 1/2" to 3/4" of crushed lava rock and a Clear Base Glass is used at the bottom of the burner ring.
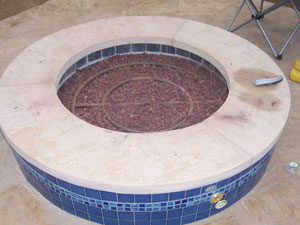
Step 1 - If you want a higher center then pour a little more filler on top of the ring.
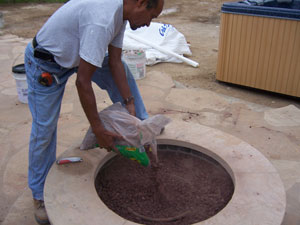
Step 2 - Now we will pour the crushed lava rock (1/4" to 3/8") over the filler as this will stop the glass from falling through the lava rock.
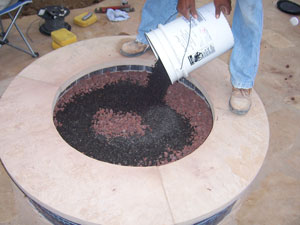
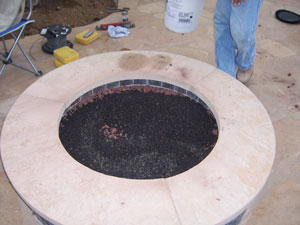
Step 3 - Finish shaping and pour the glass.
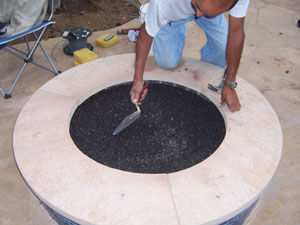
Step 4 - This is a 36" fire pit which requires 56 lbs for a 1" cover and 80 lbs for a 1 1/2" cover. Which as you can see works just fine. you can't see though the glass.
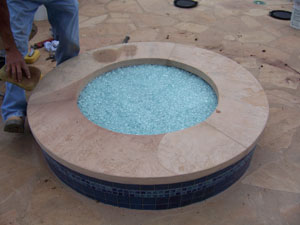
Step 5 - The last step will be to add color Toppers which we should post in a few days and night time pictures with the fire on.
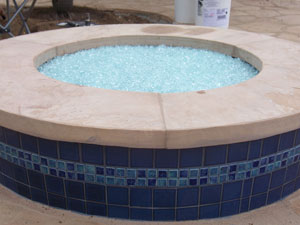
Here we are showing you how to properly install a fire pit using fireglass. We recommend starting with less and then you can always add more if you need to. As you can see we had our customer do the 1” method and it looks just fine. But keep in mind the less glass over the crushed lava rock - the more likely someone can disturb the top layer and then the lava rock could show through.
Don’t be fooled by someone trying to get you to purchase more than you actually need. We recommend using a 1”, 1½” or even the 2” method. Give us a call and we can help guide you in the right direction.
Another Step by Step Home Fireplace Installation
The pictures show how to install FireGlass to your existing brick fireplace. Again we recommend using two inches of FireGlass atop the crushed lava rock. This particular fireplace used Starfire Base Glass FireGlass and some black stove paint. The whole process after painting the fireplace took only 30 minutes.
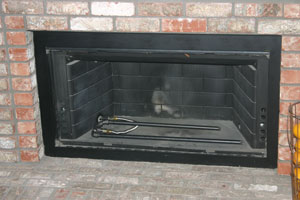
Step 1 - Install the burner and test the flame pattern.
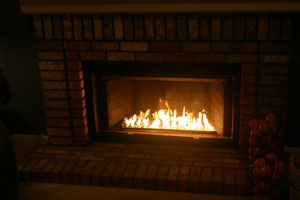
Step 2 - Test the flame on high and low to insure the flame goes straight up and does not hit the walls.
After masking and painting we turned the flame on low to heat the paint to dry it quicker.
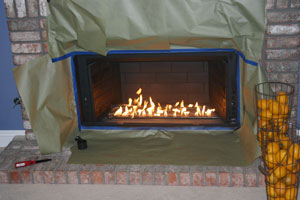
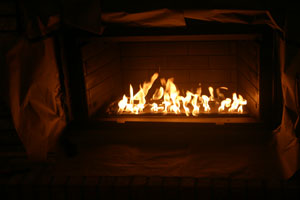
Step 3 - Turn the light down low to see the flame pattern as you will have the light down low with your evening fire. The pipe burners can be adjusted to the desired effect.
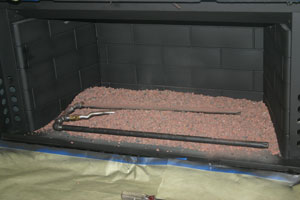
Step 4 - Below the lava rock goes in and then we test the flame pattern once again.
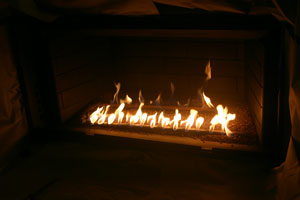
Step 5 - Below the sand goes over the lava rock and we once again test the flame pattern.
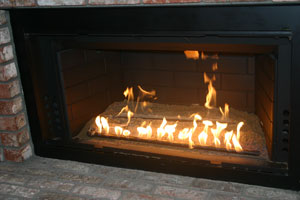
Step 6 -Pour the fire glass on and you're done.
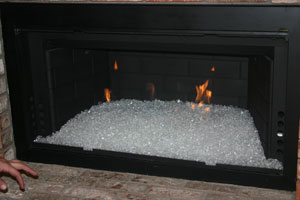
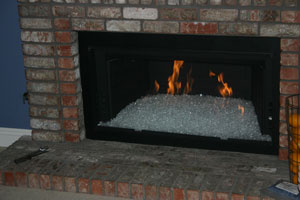
"Click Here to Shop On line!"
More Fireplace Conversion Pictures of Modern Fireplace Designs Using Moderustic Fire Glass.
The pictures below are using Ford Blue Base Glass and Ford Blue Reflective Base Glass fire glass.
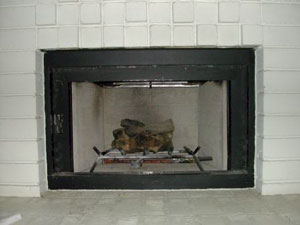
Sand over lava has been installed over the burners.
Where is the lava rock and sand? Don't let anyone tell you different as this proves to be very cost effective if you choose to do it this way.
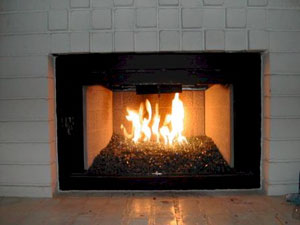
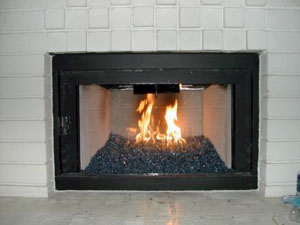
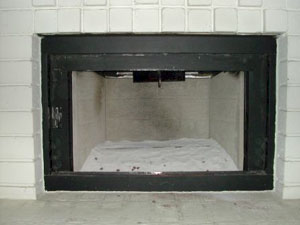
Below are pictures of what most fireplaces look like (yuk)! We will be showing how to do a 3" install (all glass), a fireplace frame otherwise known as a Surround - painted black and a triple burner with Ice Ice Ice Topper and Starfire Base Glass fire glass.
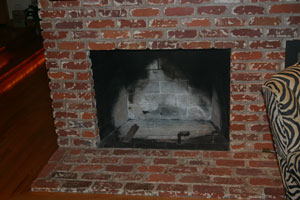
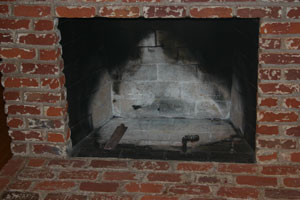
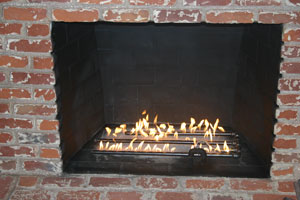
Below is the same fireplace after some cleaning and some high heat stove paint added. We then install a triple burner for our flames.
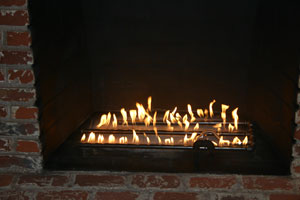
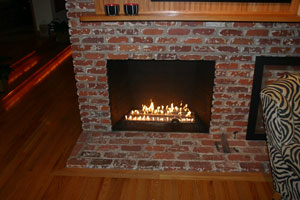
And now for our favorite part, the finishing touches. In this fireplace we installed an aluminum surround painted black. And of course our quality Starfire Base Glass fire glass.
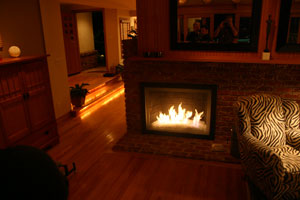
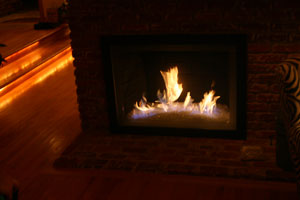
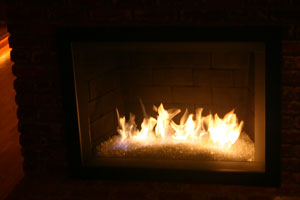
It's hard to see but we did install Ice Ice Ice Topper on top of the Starfire Base Glass. If you noticed, we had to pile a small mound in the front to cover the massive pipe connection. Did you even notice it in the first few pictures?
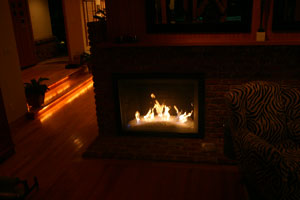
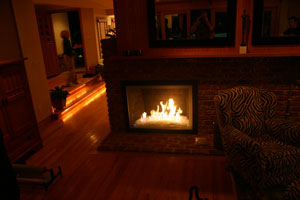
With the fireplace surround it completes fireplace and the room. We are proud to offer innovative products and ideas to our customers because of all the always pleased.
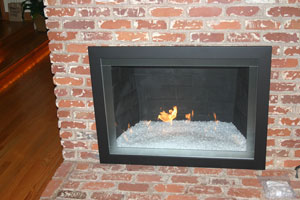
We have been told by dozens of customers that you will need an installation by a tech. As you can see how easy this actually is, they just want your money more than you do. Again this was a 30 minute install.
Got To Page 4